
The Ultimate Guide: How to Roll the Perfect L-Joint
If you’ve mastered the standard roll, it’s time to level up your craft. The L-joint is a creative masterpiece that burns slower, holds more flower, and delivers a smoother, more potent experience. Whether you’re looking to impress at a session or just want a longer burn after buying weed online in Canada, this guide covers everything you need to master this iconic technique.

What Is an L-Joint?
An L-joint gets its name from the L-shaped rolling paper configuration. By joining two papers—one horizontal and one vertical—you create an extended surface area that allows for a “mega-cone.” This setup can comfortably hold 1.5 to 2.5 grams of premium craft cannabis. Unlike a standard pre-rolled joint, the L-joint is specifically designed for a long-lasting, consistent, and cool draw.

The Science of Airflow: Why the L-Shape Wins
Why do connoisseurs prefer this method? It comes down to thermal dynamics. The tapered cone shape of an L-joint creates a “vortex” effect. As the joint burns, the wider end (the cherry) produces a high volume of smoke, which is then cooled as it travels through the narrower body toward the mouthpiece.
According to cannabis combustion research often cited on PubMed, a controlled, slower burn preserves more delicate terpenes, resulting in a significantly more flavorful and medicinally effective experience.
Essential Materials for Your Roll
To roll a professional-grade L-joint, you must start with the right tools. We recommend using unbleached king-size papers to minimize paper taste. You will also need 1.5g to 2g of high-quality flower, a sturdy filter tip (crutch) to prevent “scooby snacks,” and a reliable grinder to ensure a fluffy consistency that promotes steady airflow.

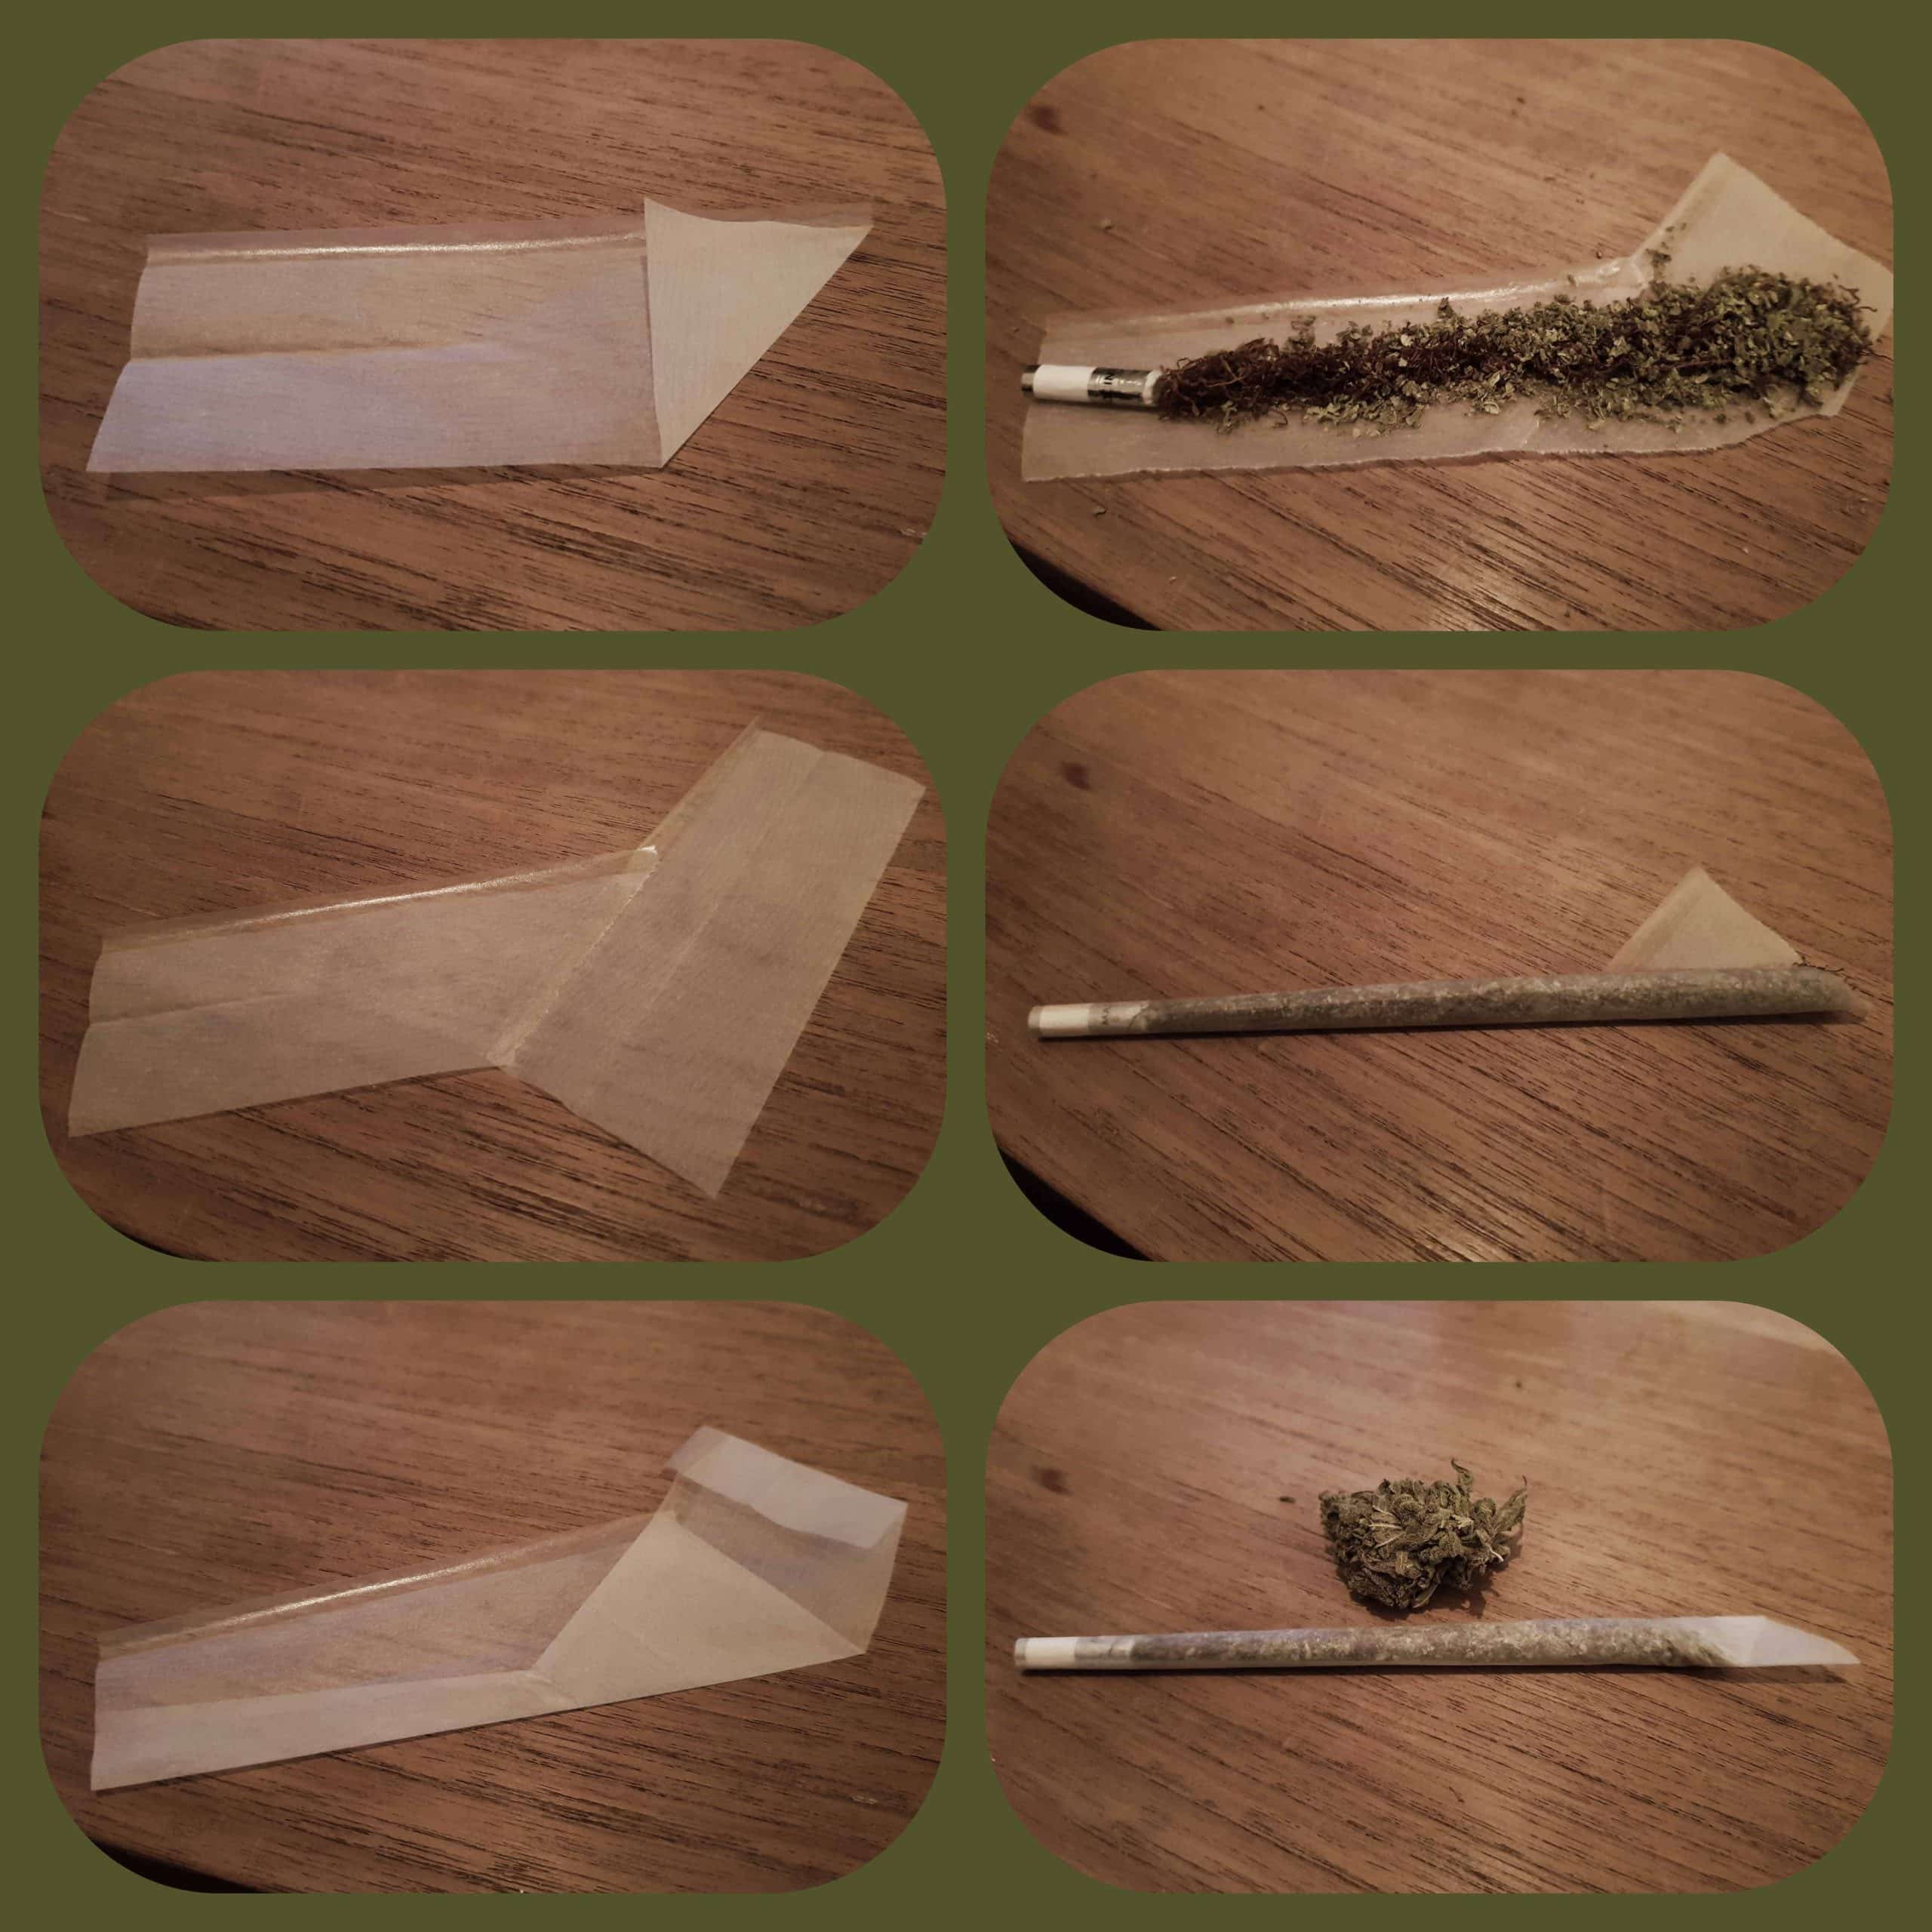
Step-by-Step: How to Roll an L-Joint
1. Construct the L-Frame: Lay one paper horizontally. Lick the gummed edge of a second paper (or a portion of it) and attach it vertically to the left end of the first, forming a capital “L”. Let the seal dry for 30 seconds to ensure it holds under pressure.
2. Prepare the Filter: Roll your filter tip and place it at the “mouth” of the joint where the two papers intersect. This provides the “anchor” for your roll.
3. Load the Flower: Distribute your ground flower along the horizontal paper. Gradually increase the density toward the vertical “L” extension to facilitate the natural cone shape.
4. The Tuck and Roll: Pinch the paper and roll back and forth between your fingers to shape the cylinder. Tuck the bottom edge over the flower and roll upward toward the gum line. The vertical “tail” will naturally wrap around the wider end of the cone.
5. Seal and Finish: Lick the gum line and seal from the filter upward. Use a packing tool to gently compress the wider end before twisting it shut to ensure an even burn.
Troubleshooting: Fixing Common Issues
Even pros run into issues. If your joint is “canoeing” (burning faster on one side), apply a small amount of moisture to the faster-burning side to slow it down. If you notice a small hole in the paper, simply tear the gummed strip off a spare paper and use it as a “bandage.” For more visual help, you can find various L-joint video tutorials that demonstrate proper hand positioning.
Expert Pairing: The Best Strains for L-Joints
Because L-joints burn for a long time (often 15+ minutes), you want a strain that maintains its flavor profile. We recommend heavy-hitting indicas like Tom Ford Bubba Kush for deep evening relaxation. If you’re sharing in a group, look for a balanced hybrid that keeps the energy social while providing a smooth physical buzz.

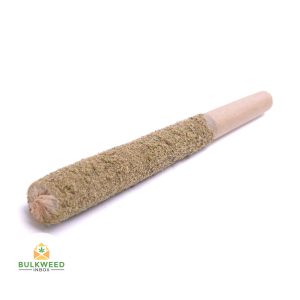
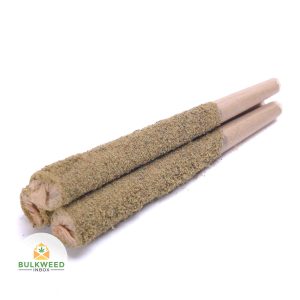
Explore Our Newest Pre-Roll Arrivals
Not ready to roll your own just yet? Browse our most recently added premium pre-rolls, sorted New to Old:
Expert FAQ: Mastering the L-Joint
1. Why is it called an L-Joint?
The name refers specifically to the orientation of the rolling papers during construction. By attaching one paper at a 90-degree angle to the other, you create an “L” shape. This hack was popularized by smokers who wanted to roll larger cones before king-size papers were widely available in commercial dispensaries.
2. How do I prevent the joint from becoming too flimsy?
The secret lies in the seal between the two papers. Ensure you overlap the gummed edge by at least 5mm and let it dry completely before adding your flower. If the joint feels weak, you can wrap a thin “bandage” strip made from the gum of a third paper around the joint’s mid-section for added structural integrity.
3. Can I roll an L-Joint with different paper sizes?
Absolutely. While two king-size papers create a massive “cannon,” you can use 1 ¼ size papers to create a more manageable, medium-sized cone. The technique remains identical regardless of the paper dimensions, as long as the “L” frame is constructed securely.
4. Does the extra paper affect the flavor of the cannabis?
If you use high-quality, ultra-thin hemp or rice papers, the flavor impact is negligible. However, using thick wood-pulp papers can introduce a “papery” or harsh taste. To experience the pure terpene profile of top-tier Canadian flower, always opt for the thinnest papers available.
5. Is an L-Joint better for groups than a regular joint?
Yes, primarily due to the burn time. A well-rolled L-joint contains roughly double the flower of a standard roll and features a wider cherry that stays lit more easily as it is passed around. This makes it the go-to choice for social sessions where a standard joint would vanish too quickly.

Leave a comment